Contents:
- Understanding Your Layered Cut: The Foundation
- Essential Tools and Products for Styling Layered Hair
- Heat Tools
- Products
- The Complete Blow-Dry Technique for Layered Hair
- Step One: Preparation
- Step Two: Rough Dry
- Step Three: Directional Drying
- Step Four: Cool Shot
- Creating Waves and Curls in Layered Hair
- Loose Waves with a Curling Iron
- Tousled Texture with a Flat Iron
- Styling Strategies for Different Layered Cut Types
- Short Layered Hair (Chin Length and Above)
- Shoulder-Length Layered Hair
- Long Layered Hair
- Maintaining Layered Hair Between Washes
- Common Mistakes That Flatten Layered Hair
- Budget Breakdown for Styling Layered Hair
- FAQ: Common Questions About Styling Layered Hair
- Q: Can I style layered hair without heat tools?
- Q: How often should I wash layered hair?
- Q: What if my layered hair looks frizzy?
- Q: Is layered hair high-maintenance?
- Q: Can I get layers if my hair is fine or thin?
- Moving Forward: Mastering Your Layered Style
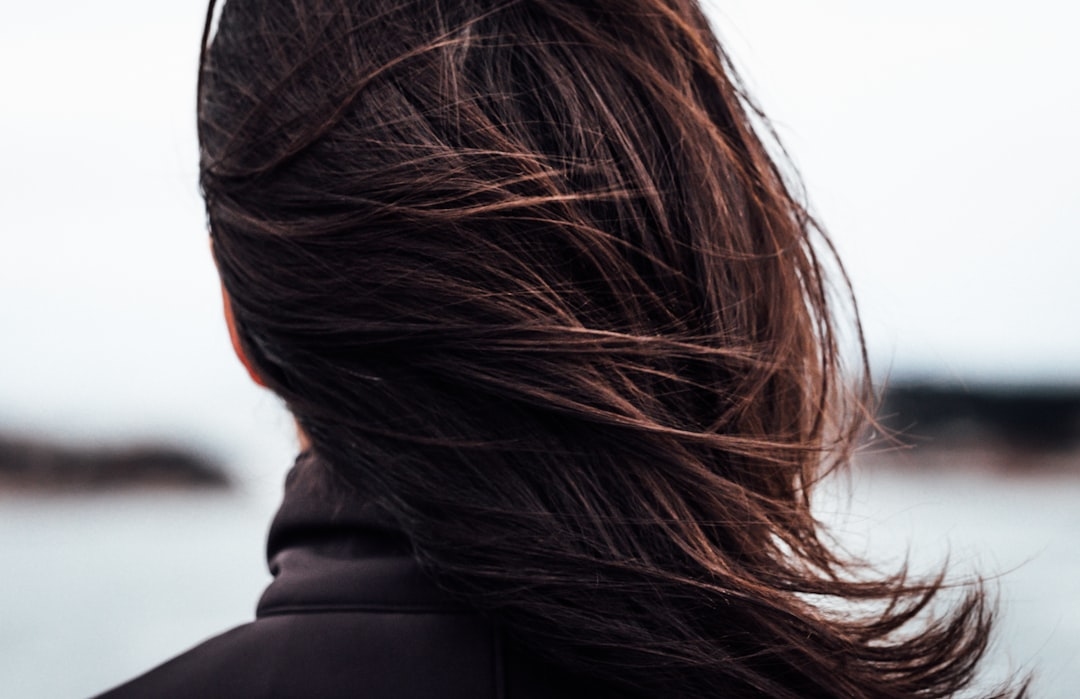
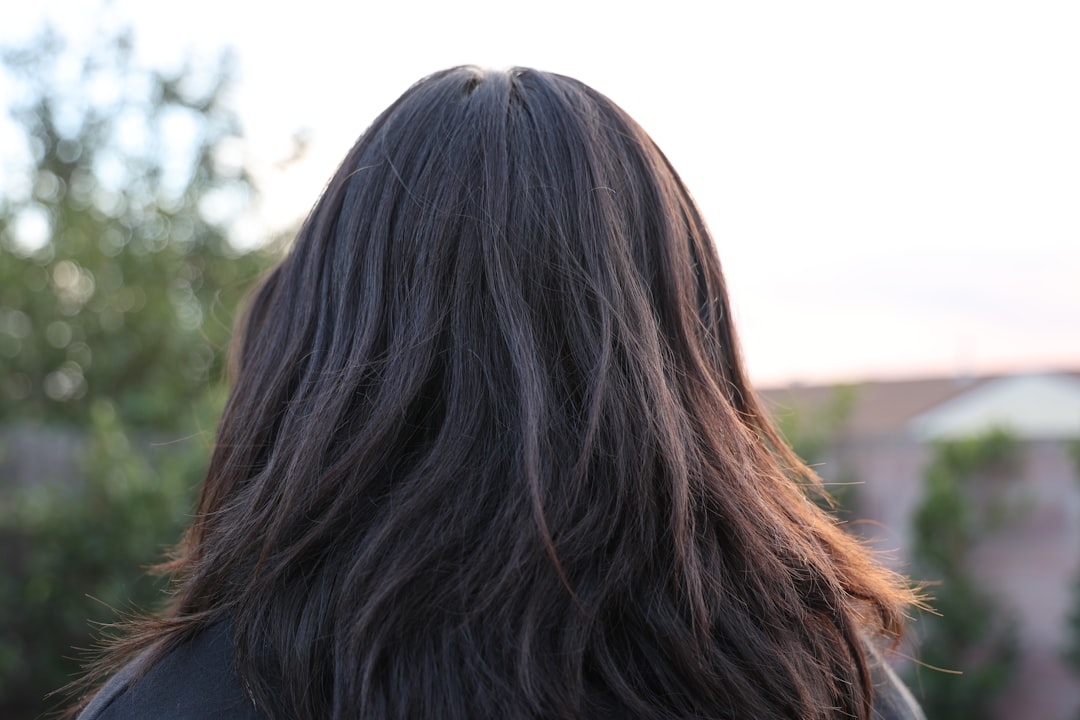
Layered haircuts emerged as a revolutionary styling approach during the 1970s, when Vidal Sassoon and other visionary stylists abandoned the rigid geometric bobs that dominated the 1960s. The layers created movement, lightness, and texture—qualities that liberated hair from looking flat or severe. Today, more than five decades later, layered hair remains one of the most versatile and flattering cuts available. Yet owning layered hair is only half the equation. Knowing how to style layered hair transforms the cut from attractive to genuinely transformative.
A layered cut works by removing length gradually from underlying sections, creating shorter pieces on top and longer strands underneath. This structure allows for natural volume, movement, and texture that blunt cuts simply cannot achieve. The challenge lies in using the right techniques, tools, and products to activate those layers and prevent them from looking limp, frizzy, or undefined.
Understanding Your Layered Cut: The Foundation
Before diving into styling techniques, understand what you’re working with. Layered cuts vary significantly depending on length, density, and how your stylist executed the cut. Short layered cuts—chin length or above—tend to show texture and movement immediately. Medium layers, typically between shoulder and mid-back length, require more intentional styling to prevent a shapeless appearance. Longer layered cuts can look effortless but demand consistent technique to maintain definition.
The angle of your layers matters considerably. Face-framing layers that start closer to the cheekbones create an entirely different effect than layers that begin further back at the crown. Similarly, the depth of the layers (how much length is removed) determines how much texture and movement you’ll naturally get. Deeper layers create more dramatic separation, while subtle layers provide gentle, flowing texture.
According to Claire Merchant, a certified trichologist and styling specialist based in Manchester, “The most common mistake I see is people treating layered hair like it’s blunt. Layered hair requires technique, intention, and the right product combination. Without these, even the best cut will fall flat.”
Essential Tools and Products for Styling Layered Hair
Heat Tools
A blow dryer with a concentrator nozzle is non-negotiable for styling layered hair effectively. The concentrator focuses airflow, allowing you to direct where your layers fall and how they stack. Look for professional-grade dryers like the Dyson Supersonic (£349) or Revlon One-Step (£79.99), both delivering consistent heat and powerful airflow. A standard blow dryer without a concentrator disperses heat too broadly, leaving you unable to shape individual sections.
A curling iron or taper taper ranges from 19mm to 32mm depending on your desired curl size. Smaller barrels (19–25mm) work best for shorter layers and tighter waves, whilst larger barrels (28–32mm) suit longer layers and loose, flowing curls. The GHD Curve (£159) or Cloud Nine Iron (£169.99) offer excellent precision and heat consistency.
Flat irons are valuable for creating sleek, controlled layers. A 1-inch plate works well for most hair types, though those with very thick hair might prefer slightly wider plates.
Products
A texturising mousse applied to damp roots before blow-drying creates instant volume and helps layers stand independently. Try Bumble and bumble Thickening Full Form Mousse (£28) or a budget-friendly alternative like Superdrug B. Kamins Volumising Mousse (£4.99). Apply mousse to the roots and lower crown, then blast with the dryer for maximum grip.
Sea salt spray works magic on layered hair by creating grit and separation between layers. Spray it on damp roots and mid-lengths before blow-drying, or apply it to dry hair to refresh waves. Cost ranges from £8 (Superdrug B. range) to £22 (Bumble and bumble Sea Salt Spray).
Light hairspray (not heavy-hold) keeps layers in place without weighing them down. Heavy products are the enemy of layered hair—they collapse the structure you’ve worked to create. Use hairspray sparingly and choose formulations labeled “flexible hold” or “soft hold.”
A heat protectant spray prevents damage whilst blow-drying and heat styling. Applied to damp hair before any heat tool, it creates a barrier that reduces frizz and breakage. Most cost £6–£15.
The Complete Blow-Dry Technique for Layered Hair
Mastering the blow-dry is where most people unlock the potential of layered hair. This technique creates the foundation for every other style you’ll attempt.
Step One: Preparation
Start with towel-dried hair—not dripping wet, but not completely dry. Apply heat protectant spray throughout, focusing on mid-lengths and ends where heat damage is most visible. Add texturising mousse to the roots and lower crown, working it through with your fingers.
Step Two: Rough Dry
Use your blow dryer on medium-high heat with the concentrator nozzle off. Rough dry your hair until it’s about 60–70% dry. Tilt your head forward and blast the roots to create a lift. This stage isn’t about perfection—it’s about removing excess moisture quickly.
Step Three: Directional Drying
Once mostly dry, attach the concentrator nozzle and work section by section. Divide your hair into four quadrants: two on top (crown and front) and two underneath (lower back and sides). Start with the underside sections, which need the most direct attention to prevent flattening. Dry each section by directing the airflow downward, following the natural fall of the hair.
For the crown, where you want maximum volume, dry the roots perpendicular to your head—pointing straight up—then brush upward and away from the face as you dry. This creates lift that lasts throughout the day.
Front layers around the face should be dried away from the face to prevent frizz and to frame your features properly. Use your fingers or a round brush to guide them as you dry.
Step Four: Cool Shot
Finish with the cool shot button on your dryer. This seals the hair cuticle, locks in your style, and dramatically increases shine. Spend 30–60 seconds on the cool shot stage.
Creating Waves and Curls in Layered Hair
Waves and curls make layered hair genuinely spectacular because the existing texture and separation of the cut amplifies the effect.
Loose Waves with a Curling Iron
After blow-drying, divide your hair into sections roughly an inch wide. Using a 28mm or 32mm curling iron heated to 190–200°C, take each section and wrap it around the barrel for 10–15 seconds. Direction matters: alternate wrapping sections away from and toward your face for a natural, undone appearance. Avoid curling the same direction throughout, which looks artificial.
Allow curls to cool for 2–3 minutes before running your fingers through them. This cooling period sets the curl structure. Once cooled, gently separate the curls with your fingers to soften them into waves.
Tousled Texture with a Flat Iron
For a more textured, lived-in look, use a flat iron to create subtle crimps and bends. Take sections and twist the flat iron slightly as you glide it down the hair shaft. This creates movement without forming defined curls. Works particularly well on shoulder-length and longer layered hair.
Styling Strategies for Different Layered Cut Types
Short Layered Hair (Chin Length and Above)
Short layers naturally create shape and movement. Focus your blow-dry on lifting the crown and directing face-framing pieces away from your face. Finish with a light texturising spray to enhance separation. A small amount of lightweight wax or pomade (applied to fingertips, not the brush) can define individual pieces if desired—try products like Bumble and bumble Thickening Fullform Mousse or a men’s styling wax at £8–£12.
Shoulder-Length Layered Hair
This length gives you flexibility. You can wear it sleek and controlled with a flat iron and hairspray, or tousled and wavy with a curling iron. The key is consistent blow-drying technique. Volume at the crown prevents the cut from looking shapeless, whilst shaped ends (either through curling or flipping the ends under slightly during the blow-dry) create definition.
Long Layered Hair
Long layers need intention to avoid appearing flat or undefined. Blow-dry using a round brush on the longer bottom sections, turning the brush under at the ends to create a subtle flip. This prevents long hair from hanging completely straight, which negates the visual impact of the layers. Sea salt spray applied before blow-drying creates instant texture and grip.
Maintaining Layered Hair Between Washes
A layered cut requires regular trims—every 6–8 weeks—to maintain the shape and prevent raggedy, split ends that make layers look unkempt. At £35–£65 per trim in most UK salons, this is a genuine cost to factor into your decision to get layers.
Between washes, refresh your waves with a dry texturising spray, applied to the mid-lengths and ends. Scrunch gently upward as you spray to reactivate the texture. Most mornings require just 5–10 minutes with a curling iron to touch up any sections that have fallen flat overnight.
Common Mistakes That Flatten Layered Hair
Using heavy products. Serums, thick creams, and heavy oils weigh down layers and collapse the structure. Stick to lightweight lotions, mousses, and sprays.
Blow-drying downward only. If you always dry your hair straight down, you’re working against the layers. Vary directions—up, away from the face, and in opposing directions on alternating sections.
Skipping heat protectant. Layered cuts require regular heat styling. Without heat protectant, your ends become dry and frayed, which reads as unkempt rather than textured.
Irregular trims. Layers grow out unevenly, especially shorter layers around the face. Skipping trims for three months or longer means your layers lose definition and become wispy and thin-looking.
Over-curling without cooling time. Curls set best when they cool. Applying hairspray to warm curls is ineffective. Always let curls cool before handling them or applying product.
Budget Breakdown for Styling Layered Hair
Below is a realistic cost estimate for the first year of maintaining and styling layered hair in the UK.
Initial Investment:
- Professional blow dryer with concentrator: £80–£350
- Curling iron (25–32mm): £40–£160
- Flat iron: £35–£150
- Heat protectant spray: £8–£15
- Texturising mousse: £5–£28
- Sea salt spray: £8–£22
- Lightweight hairspray: £6–£15
- Total: £182–£740
Ongoing Annual Costs:
- Trims every 6–8 weeks (7 trims annually): £245–£455
- Styling products (replacements): £60–£120
- Total: £305–£575 annually
FAQ: Common Questions About Styling Layered Hair
Q: Can I style layered hair without heat tools?
Yes, though results are more limited. Apply mousse to damp roots, use a sea salt spray on mid-lengths, and allow hair to air-dry. You’ll achieve texture and movement, but less defined styling. For truly polished results, heat tools are beneficial. A blow dryer on medium heat with a diffuser attachment offers a middle ground—less direct heat than a concentrator nozzle, but more control than air-drying.
Q: How often should I wash layered hair?
Layered hair typically benefits from washing every 2–3 days. More frequent washing strips natural oils that keep layers looking healthy and defined. Use dry shampoo between washes to absorb oil and refresh texture. When you do wash, use a gentle shampoo and deep conditioning treatment on the mid-lengths and ends, which are more vulnerable to dryness.
Q: What if my layered hair looks frizzy?
Frizz usually stems from moisture imbalance. Ensure you’re using heat protectant before blow-drying, and finish styling with a cool shot to seal the cuticle. On humid days, a lightweight anti-frizz serum applied to damp hair before drying helps. Avoid over-brushing after you’ve styled—brushing disrupts your wave pattern and creates frizz. Use your fingers to adjust pieces instead.
Q: Is layered hair high-maintenance?
Relative to other cuts, yes. The investment in tools, products, and regular trims is significant. However, layered hair also offers tremendous versatility—you can style it multiple ways without looking like you’re wearing the same style daily. If you enjoy styling and have the budget, the payoff is worthwhile. If you prefer minimal-maintenance hair, a blunt cut or textured crop might suit you better.
Q: Can I get layers if my hair is fine or thin?
Absolutely. Fine or thin hair often benefits from layers because they create the illusion of volume and movement. Ask your stylist for subtle layers rather than choppy ones, and keep length in the lower sections to add weight. Use volumising mousse and blow-dry with the roots perpendicular to your head. Avoid heavy products and layers that are cut too short in the crown, which can expose your scalp.
Moving Forward: Mastering Your Layered Style
Learning how to style layered hair is a skill that improves with practice. Your first few attempts using these techniques might take 20–30 minutes. Within two weeks of consistent practice, you’ll likely cut that time in half. The investment in proper tools and products, combined with a solid blow-dry technique and regular trims, transforms layered hair from a gamble into a genuinely flattering, versatile cut that adapts to your lifestyle and personal style.
Start by mastering the foundational blow-dry technique outlined above. Once that becomes second nature, experiment with waves, curls, and different product combinations to find what works best for your hair type and preferences. Your layered cut has extraordinary potential—unlocking that potential simply requires the right approach.